

 SEOGUN
본 게시물은 Keith Harrison 게시글을 번역한 자료입니다.
ContainerRelativeShape 에 대해 알아보도록 합시다.
ContainerRelativeShape
SwiftUI에는 둥근 사각형을 만드는 많은 방법을 가지고 있지만, 위젯의 모서리 반경을 맞추고 싶다면 어떻게 해야할까요?
Apple에서는 iOS 14부터 ContainerRelativeShape 라는 기능을 추가했습니다.
이 기능은 홈 화면 위젯을 만들 때 특히 중요합니다.
콘텐츠의 모서리 반경을 위젯의 모서리 반경과 조정하도록 제안합니다.
Text("Hello World!")
.font(.title)
.padding()
.background(Color.yellow)
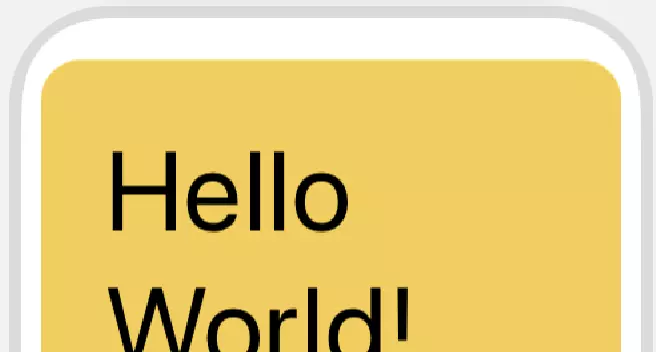
.cornerRadius(10)위젯의 제일 작은 크기를 사용하여 미리 볼 때의 모양은 다음과 같습니다.

하지만, cornerRadius 를 사용한다면 모서리에 가까워 질수록 텍스트박스의 모서리가 지저분해집니다
ContainerRelativeShape은 위젯 개발자의 삶(?)을 더 쉽게 해주기 위해 SwiftUI iOS 14에 추가 했습니다.
💡현재는 ContainerRelativeShape위젯 내에서만 작동합니다. 다른 곳에서 사용할 수 있지만 직사각형을 만듭니다.
Text("Hello World!")
  .font(.title)
  .padding()
  .background(ContainerRelativeShape()
                .fill(Color.yellow)
              )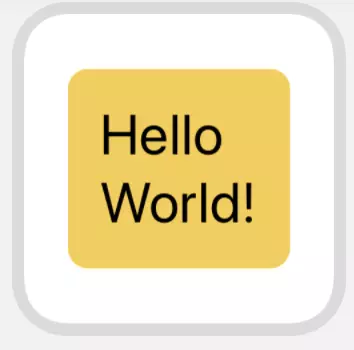
ZStack 내부에 ContainerRelativeShape를 작성 후, inset(by:)수정자를 사용 하여 테두리 크기를 컨트롤 할 수 있습니다.
ZStack {
ContainerRelativeShape()
.inset(by: 8)
.fill(Color.yellow)
Text("Hello World!")
.font(.title)
.padding()
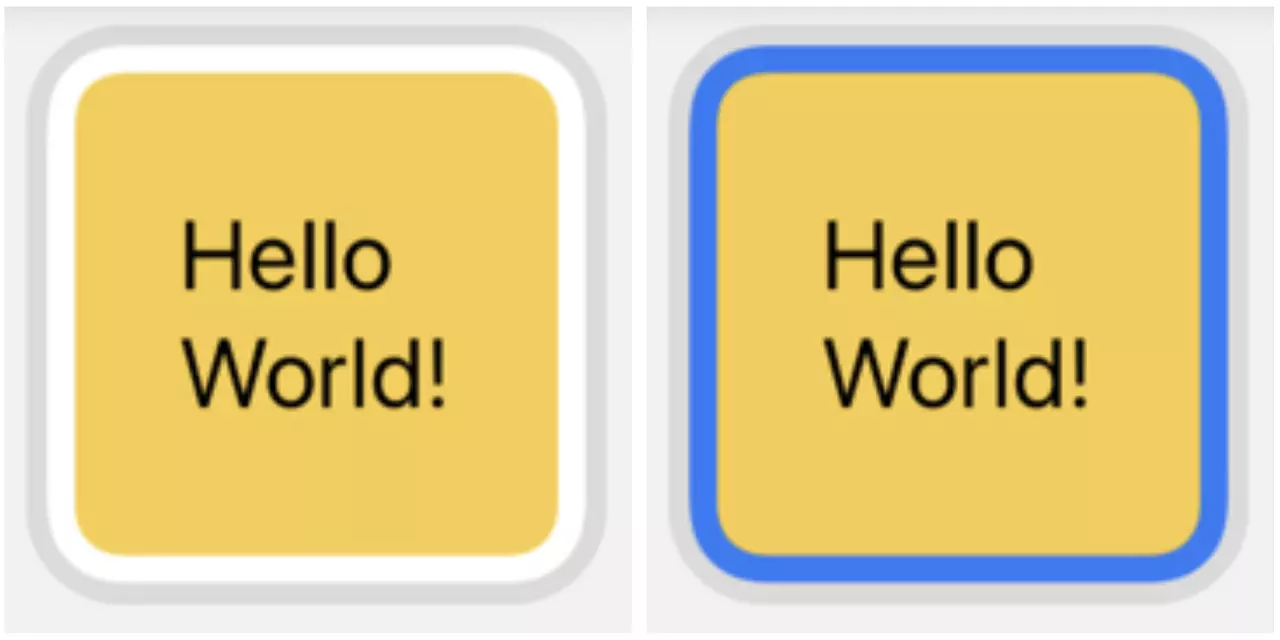
}테두리에 색상을 추가하고 싶다면 ZStack 바로 아래에 Color(.systemColor) 를 추가해줍니다.
ZStack {
  Color(.systemBlue)

  ContainerRelativeShape()
    .inset(by: 8)
    .fill(Color.yellow)

  Text("Hello World!")
    .font(.title)
    .padding()
}
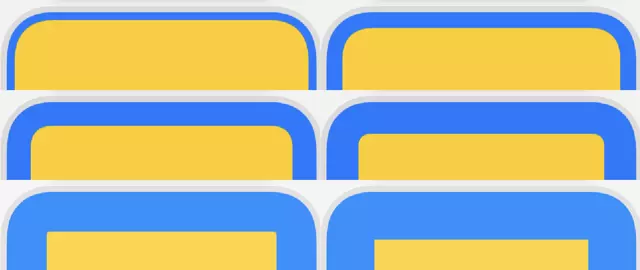
모서리의 반경을 설정하는 inset 에 숫자를 높일수록 아래와 같이 화면에 보이게 됩니다.
inset(by: 5) / inset(by: 10) / inset(by: 15)...
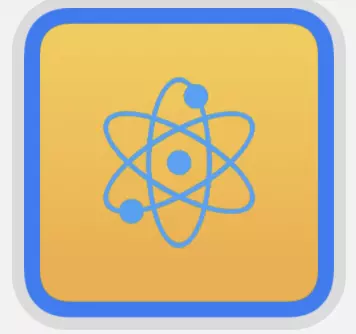
위젯 화면 안에 이미지 추가
ZStack {
  Color(.systemBlue)

  Image("atom")
    .resizable()
    .clipShape(ContainerRelativeShape()
               .inset(by: 8))
}
예제
struct ContentView: View {
    var body: some View {
        ZStack {
            ContainerRelativeShape()
                .inset(by: 10)
                .fill(Color.yellow)

            Text("Hello, World!")
                .font(.title)
        }
        .frame(width: 300, height: 200)
        .background(Color.blue)
        .clipShape(Capsule())
    }
}
이렇게 오늘은 ContainerRelativeShape에 대해 알아보았습니다.
읽어주셔서 감사합니다🤟
'SWIFTUI > Image' 카테고리의 다른 글
| SwiftUI : Path / Shape (1) | 2021.04.22 |
|---|---|
| SwiftUI : AspectRatio / GeometryReader / GeometryProxy (3) | 2021.04.04 |
| SwiftUI : trim( ) - Shape의 일부 그리기 (Timer) (0) | 2021.03.13 |
| SwiftUI : Shape (Rectangle, Circle, Capsule...) (0) | 2021.01.22 |
| SwiftUI : Colors and Gradient (0) | 2021.01.22 |


 한국어 (기본)
 English
 Русский
 日本語
日本語
