Lottie 애니메이션
1. 세팅
Xcode의 프로젝트 이름은 LottieCard라고 정해주고 프로젝트 안에 Lottie 애니메이션을 사용할 수 있도록 세팅을 해줍니다.
ContetView에 화면을 구성해주기 위해 재사용 될 수 있는 CardView를 먼저 만들어주겠습니다.
새로운 SwiftUI 파일을 생성후 이름은 'Lottie Card' 라고 정해주고 아래와 같이 코드를 작성해줍니다.
//LottieCard

import SwiftUI

struct LottieCard: View {

    var title = "서근 개발블로그 카드"
    var icon = "faceid"
    var animate = "A"
    var color1 = Color(Literal())
    var color2 = Color(Literal())

    var body: some View {

        ZStack {
            RoundedRectangle(cornerRadius: 30)
                .fill(LinearGradient(gradient: Gradient(colors: [color1, color2]), startPoint: .top, endPoint: .bottomTrailing))
                .frame(width: 400, height: 250)
                .shadow(color: Color.gray, radius: 25, x: -10, y: 10)
            //카드안 동그라미 아이콘
            ZStack{
                Circle().fill(Color(Color(Literal()).opacity(0.3))
                    .frame(width: 50)
             Image(systemName: icon)
                .resizable()
                .frame(width: 24, height: 24)
                .foregroundColor(.white)
            //아이콘의 위치 조정
            }.offset(x: 155, y: -80)
            //카드이름
            Text(title)
                .foregroundColor(.white)
                .fontWeight(.bold)
                .offset(x: -130, y: -80)

            //로티 애니메이션
            LottieView(filename: animate)
                .frame(width: 250, height: 250)
                .offset(x: 0, y: 10)

        }
    }
}Xcode에 사용자가 원하는 Lottle Animation을 추가해야하는데, 사이트에 접속해서 원하는 애니메이션을 Json형태로 다운받아주세요.
제가 사용한 애니메이션은 아래 파일로 올려두겠습니다.
만약 'LottieCard'뷰의 LottieView의 filename에 첨부한 Json명을 넣으면 미리보기 할 수 있습니다.
            //로티 애니메이션
            LottieView(filename: "sending-email")
                .frame(width: 250, height: 250)
                .offset(x: 0, y: 10)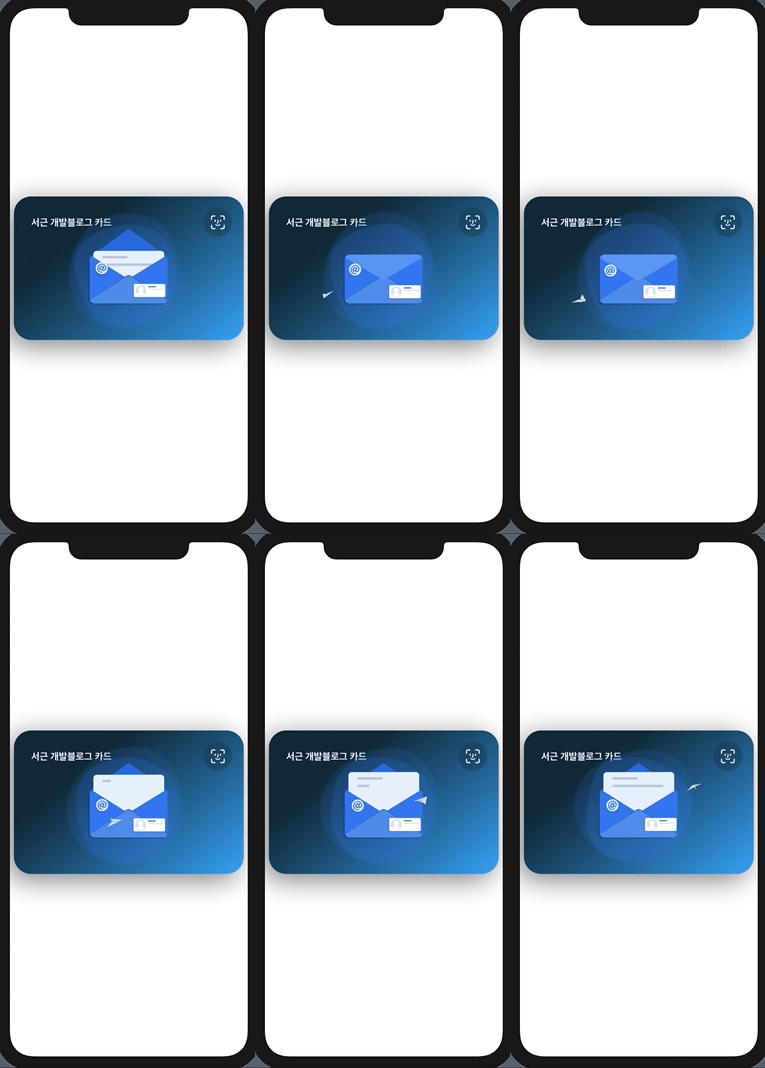
2. 코드 작성
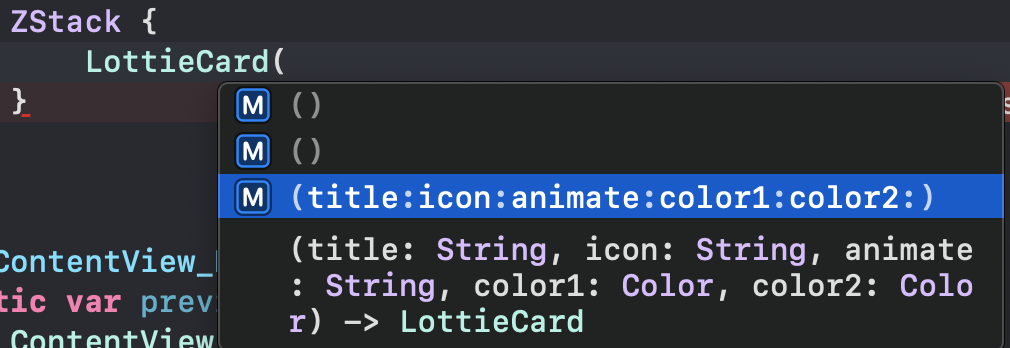
ContentView로 가서 아래와 같이 코드를 작성해줍니다.
struct ContentView: View {
    @State var show = false
    var body: some View {

        ZStack {
            LottieCard(title: "스위프트UI", icon: "qrcode.viewfinder", animate: "sending-email",
            color1: Color(literal()), color2: Color(literal())
        }
완성된 카드를 아래 여러번 추가해서 한 화면에 3개를 띄워보도록 하겠습니다.
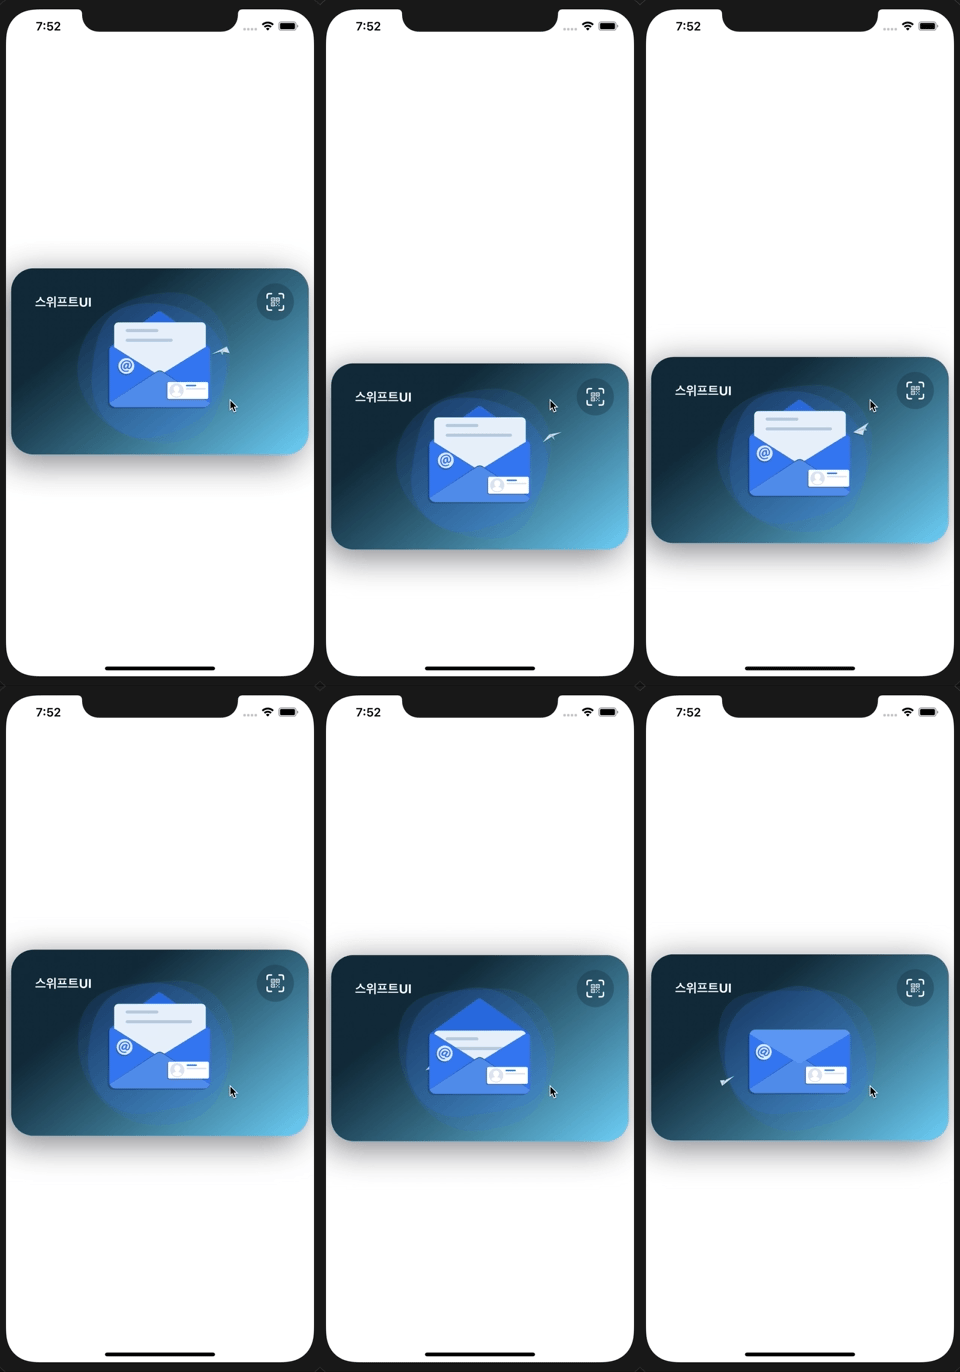
우선 show를 @State 로 가져와주고 offset에 show 가 true 이면 y:140, false 이면 y:20으로 적성합니다.
그리고 애니메이션 효과 까지 적용시켜주도록 하겠습니다. (Color 부분은 직접 바꿔주셔야 합니다.)
화면을 터치하면 실행되게 하는 onTapGestrue 에 show를 toggle해줍니다.
            LottieCard(title: "스위프트UI", icon: "qrcode.viewfinder", animate: "sending-email", color1: Color(literal()), color2: Color(literal())
                .offset(y: show ? 140: 20)
                .animation(.spring(response: 0.6, dampingFraction: 0.6, blendDuration: 0))
                .onTapGesture {
                    self.show.toggle()
                }
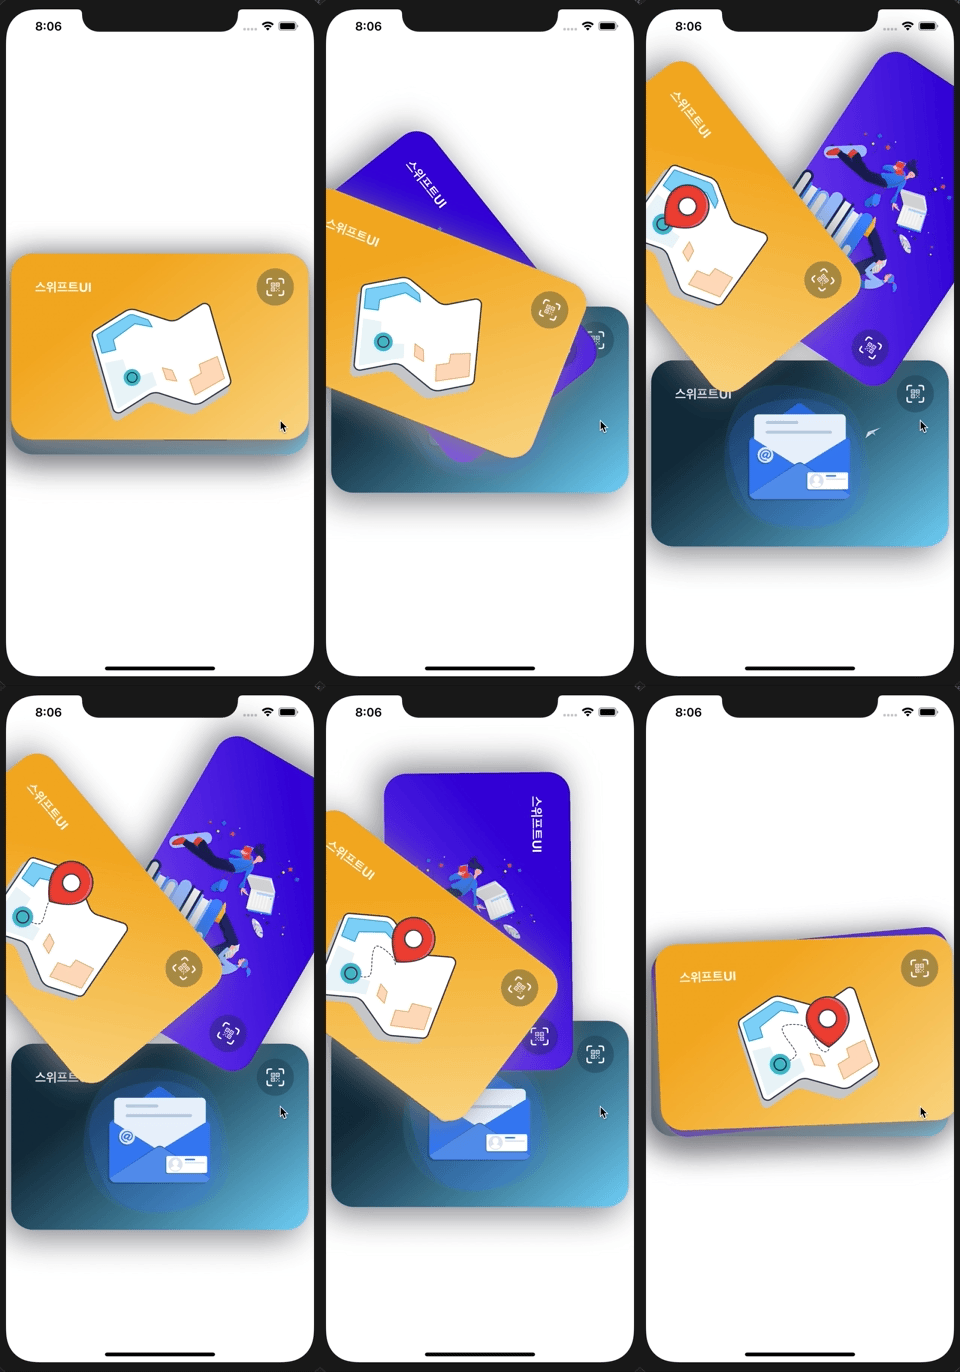
그 밑에 카드는 코드를 조금 다르게 해서 넣어주세요.
            LottieCard(title: "스위프트UI", icon: "qrcode.viewfinder", animate: "School", color1: Color(literal), color2: Color(literal)
                .offset(x: show ? -200: 00)
                .rotationEffect(Angle(degrees: show ? 120: 0))
                .animation(.spring(response: 0.6, dampingFraction: 0.6, blendDuration: 0))
                .onTapGesture {
                    self.show.toggle()
                }


            LottieCard(title: "스위프트UI", icon: "qrcode.viewfinder", animate: "map", color1: Color(literal), color2: Color(literal)
                .offset(x: show ? -200: 00)
                .rotationEffect(Angle(degrees: show ? 50: 0))
                .animation(.spring(response: 0.6, dampingFraction: 0.6, blendDuration: 0))
                .onTapGesture {
                    self.show.toggle()
                }
읽어주셔서 감사합니다🤟
본 게시글의 전체코드 GitHub 👇🏻
Seogun95/SwiftUI_Project4-LottieCard-
Project4. Lottie Animation을 사용하여 Card 만들기. Contribute to Seogun95/SwiftUI_Project4-LottieCard- development by creating an account on GitHub.
github.com
[SwiftUI 기초/View layout] - SwiftUI : Lottie Animation(애니메이션)
'PROJECT > Simple' 카테고리의 다른 글
| SwiftUI Project6 : Use Views From Other Frameworks (0) | 2021.03.08 |
|---|---|
| SwiftUI Project5 : 날씨앱 'SwiftUI 기초 배우기' (0) | 2021.03.06 |
| SwiftUI Project3 : List view를 사용하여 Grid 만들기 (0) | 2021.02.09 |
| SwiftUI Project2 : Slider (2) | 2021.02.05 |
| SwiftUI Project1 : Extension으로 정보가져오기 (0) | 2021.02.02 |




 한국어 (기본)
 English
 Русский
 日本語
日本語
